


Before replacing a Mercedes grille, prepare with essential tools, safety gear, and vehicle stabilisation. Secure the car on a level surface, gather tools including jack stands, new grille, and hardware. Disassemble the old grille, inspect for damages, then prepare for installing the new one. Align and secure the new grille, check stability and positioning, then connect associated components. Test systems, get a safety check from a collision repair service, and enjoy your restored Mercedes grille.
Looking to refresh your Mercedes with a new grille? This step-by-step guide walks you through the process, from preparing for replacement with essential tools and safety measures, to removing the old grille in manageable steps, and finally, installing the new one. By following these clear instructions, you’ll have your Mercedes looking sleek and updated in no time, ensuring a successful DIY Mercedes grille replacement experience.
- Prepare for Grille Replacement: Tools and Safety Measures
- Remove the Old Grille: Step-by-Step Disassembly
- Install the New Grille: Final Assembly and Testing
Prepare for Grille Replacement: Tools and Safety Measures
Before diving into the Mercedes grille replacement process, it’s crucial to prepare and gather all necessary tools and safety equipment. This ensures a smooth and secure installation. For a successful Mercedes grille replacement, you’ll require basic automotive tools such as sockets, ratchets, wrenches, and screwdrivers. Additionally, consider having a set of protective gear including gloves, safety goggles, and a respirator mask to safeguard against debris and chemicals.
Safety should be your top priority when handling any vehicle repairs, especially for parts like the grille. Make sure your vehicle is parked on a level surface with wheel chocks in place for stability. Disconnect the battery to prevent accidental shorts or sparks that could cause damage or injury. If you’ve ever dealt with dent repair, such as fixing a vehicle dent or collision repair shop work, you might already be familiar with some of these safety measures, which are equally important during this Mercedes grille replacement process.
Remove the Old Grille: Step-by-Step Disassembly

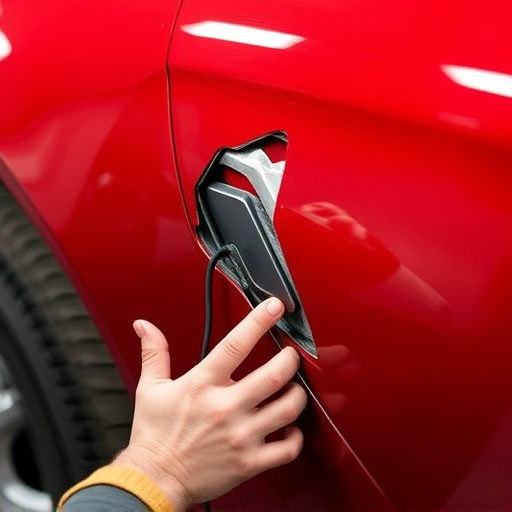
To begin your Mercedes grille replacement project, you’ll first need to remove the old one. Start by securing your vehicle on a level surface and engaging the parking brake for safety. Next, gather all necessary tools, including jack stands, a new grille, and any required hardware. With proper safety measures in place, it’s time to disassemble. Begin by locating and removing the screws that secure the grille to the front of the car. These are often located behind plastic retainers or brackets. Once these are removed, gently pull the old grille towards you to release it from its housing. Take note of how it’s attached, as this will help when installing the new one.
Before discarding the old grille, inspect it for any damages that might be repaired, such as dents or cracks, pointing to a potential need for car dent repair. It’s also a good opportunity to evaluate the front end of your vehicle, looking into any related auto glass repair or vehicle body repair requirements. With the old grille safely removed, clear access to the front end is now available, setting the stage for the installation of your new Mercedes grille.
Install the New Grille: Final Assembly and Testing
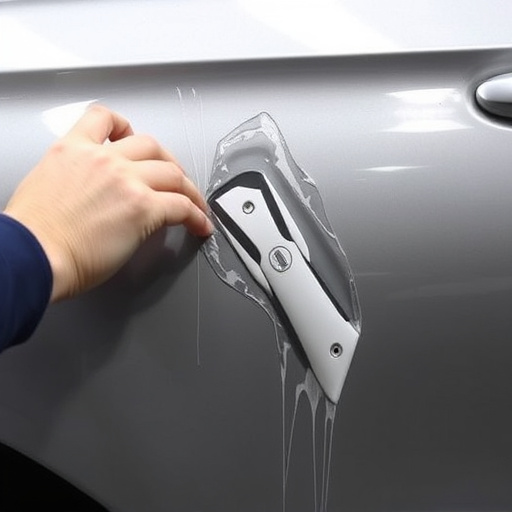
After carefully removing the old Mercedes grille, it’s time to install the new one—a crucial step in the Mercedes grille replacement process. Begin by aligning the new grille with the vehicle’s front end, ensuring all mounting points are correctly positioned. Secure it using the appropriate hardware, following the manufacturer’s guidelines. This involves tightening the bolts and nuts firmly but without excessive force to avoid damage. Once the grille is securely fastened, conduct a thorough visual inspection to verify its stability and positioning.
The final assembly step includes connecting any associated components like sensors or lights, ensuring they function correctly. Testing these systems is essential before considering the job complete. Additionally, check for any signs of misalignment or loose parts. If everything appears in order, the car can now be taken to a collision repair service or trusted car body shop for a final quality check and to ensure it meets safety standards, especially regarding air conditioning and cooling system functionality after the Mercedes grille replacement.
Mercedes grille replacement is a task that, with the right preparation and guidance, can be accomplished successfully. By following these steps and prioritizing safety, you’ll have your vehicle’s front appearance refreshed in no time. Remember, proper disassembly and assembly techniques are key to ensuring a perfect fit and maintaining your car’s overall aesthetic. With this guide, you’re now equipped to tackle any Mercedes grille replacement project with confidence.